
This vulnerable machine is located at: https://www.vulnhub.com/entry/y0usef-1,624/
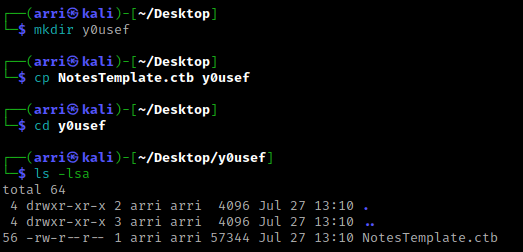
What I like to do first is create a directory for this box (mkdir y0usef) & copy over a preset for taking notes.
Once I finish this, I check my IP and the IP of the “y0usef” machine using sudo arp-scan --localnet. My IP is the one circled at the top, and the box is the other one that is circled. Once I figure out the box’s IP, I then set an IP variable using export IP="10.10.1.119". The set IP variable can always be checked by using echo $IP.

I then nmaped the target using the IP variable I set up to look at what ports are open using sudo nmap -p- -sC -sV $IP --open. “-p-“ is for scanning all ports; “-sC” is for default NSE scripts; “-sV” is for service versions; and “–open” is for filtering for only open ports. It should return that ports 22 (ssh) and 80 (http) are open.

I set a URL variable using export URL="http://10.10.1.119/FUZZ" (you can check it with echo $URL). I then used wfuzz to check for words, wfuzz -c -z file,/usr/share/seclists/Discovery/Web-Content/raft-large-words.txt --hc 404,403 $URL. The “-c” switch outputs with color, “-z” specifies a payload (in this case it is file, then we specify a wordlist), and “–hc 404,403” is a hushcode (removes the entry) for 404 and 403 errors.
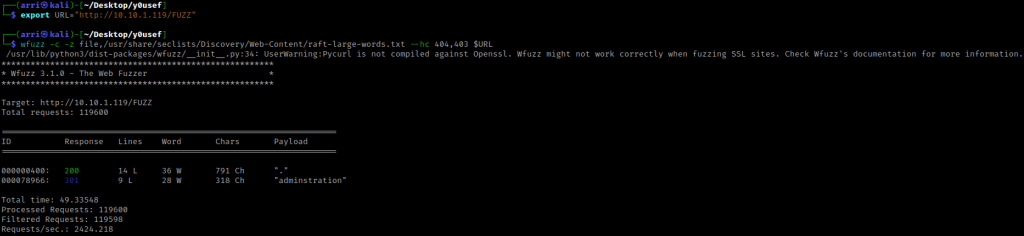
This then returns “administration”. I went to the website and looked around on the normal page and there was nothing (even in the page source). I then went to “/administration” and it gave me a forbidden.

When I looked at another writeup, because I was stuck, this person mentions that it runs off of loopback (127.0.0.1). From here, I used the “X-Forwarded-For-Header” browser extension for Firefox and in the “IP Address” section, input the IP “127.0.0.1”. I refreshed the page and then I saw a login screen.

I tried some default credentials including admin:password and admin:admin. The username admin and the password admin works. It then brought me to the dashboard.
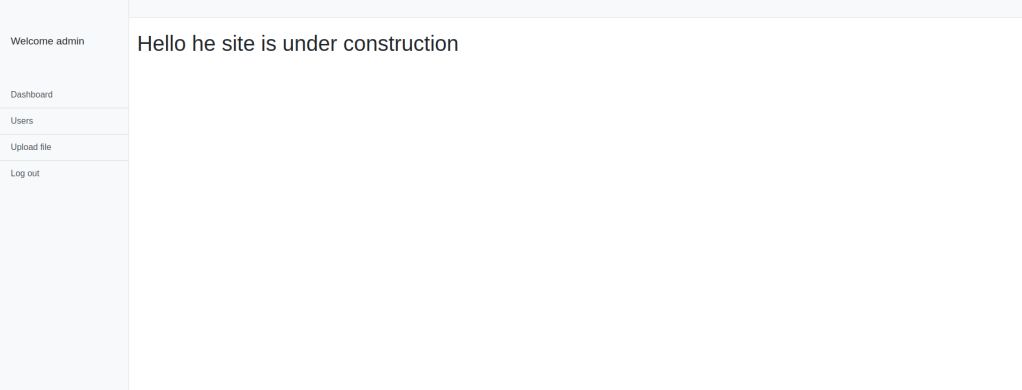
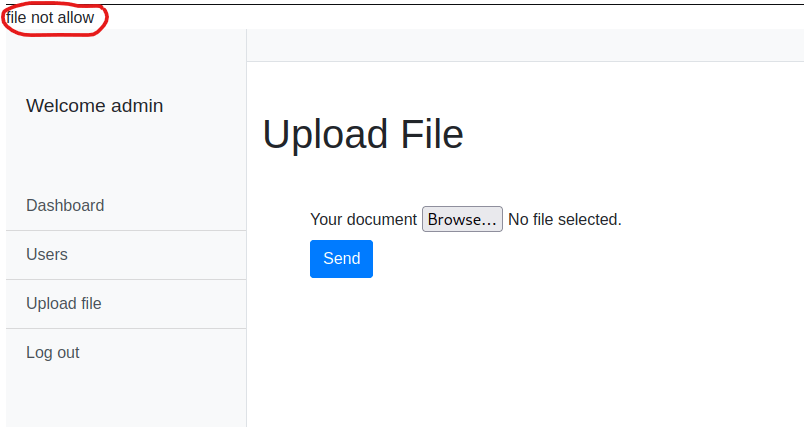
I looked around on the website, there is not much that can be done other than uploading a file. I tried to upload a php-reverse-shell from pentestmonkey, but it did not allow me to.
I opened up BurpSuite and started a new temporary project. I clicked on the proxy tab and make sure that Intercept is off. My goal is to manipulate the HTML to allow the reverse shell upload. I opened a separate shell with the command “nc -nlvp 4444” (this shell will be listening for the reverse php shell’s code that I inject).

In the browser that has the “adminstration/upload/” path open, I turned on my BurpSuite FoxyProxy, and chose the file to upload but did not hit send yet.
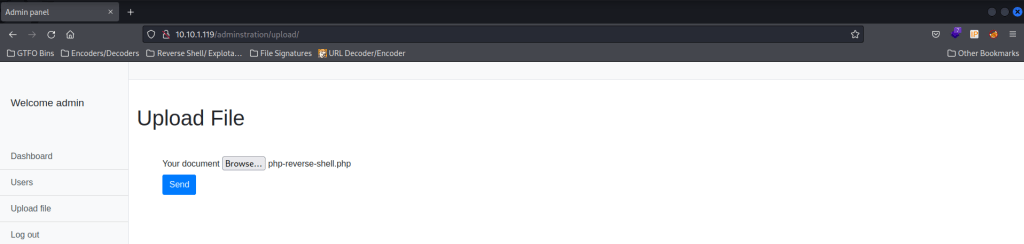
I switched to BurpSuite, turned Intercept on, switched back to the browser, and pressed the “Send” button for the file. I assumed it was being rejected because it was being recognized as a “application/x-php”.

I tried to switch this to be “image/jpg” and forwarded it to see if it worked (see circled area above to know where to change it). It did work and now in the browser it says that it was uploaded and says where it was uploaded to (the highlighted part).

I tried putting this path after the “/upload/” path that was already in the browser. Once I did this the browser just continuously tried to load. Looking back at my listening shell, I now had a shell on the machine!

I checked for python using which python, and it was on the machine. I used the command python -c 'import pty;pty.spawn("/bin/bash")' to make the shell look more bash-like.

I looked around and looked at SUIDs. I then navigated to the home directory and listed the contents using cd /home && ls -lsa. I noticed that there is a “user.txt” that can be read using cat user.txt.
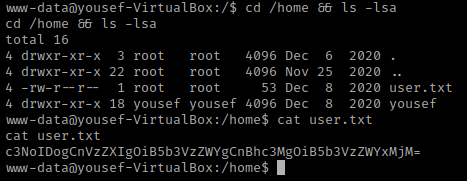
This is base64 encoded (I could tell from the equal sign at the end and the total number of characters being divisible by 4). I went to BurpSuite and turned off intercept. I then went to the ‘Decoder’ section of Burp and pasted the text in. I put the ‘Decode As’ to be Base64 and it outputted results. If done correctly, the inputted text should turn the same yellow color shown at the right for Base64.

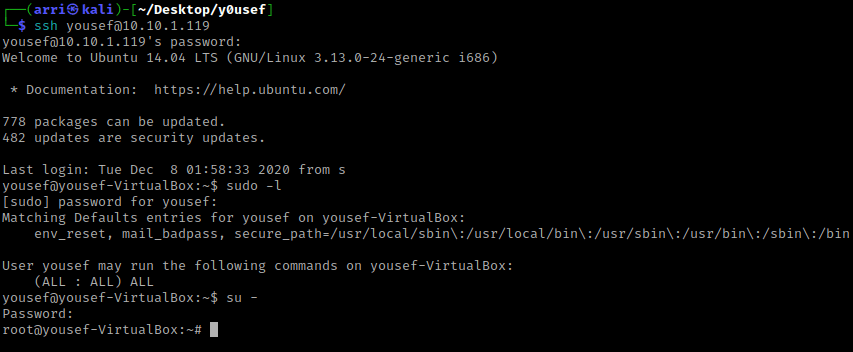
I exited out of the reverse shell and went back to my normal terminal. I used ssh yousef@10.10.1.119 and then typed the password in, which allowed me to connect.

After searching around some more (I already had checked SUIDs and GUIDs so I did not try it again), I tried using sudo -l and typed in the password to see what permissions that the user has. This revealed that yousef had “(ALL : ALL) ALL”, meaning the user had full permissions and was essentially root. I then switched to root using su - and used yousef’s password.
I next navigated to the root directory and listed the contents using cd /root && ls -lsa. This revealed a “root.txt” which I read using cat root.txt. This gave me the second flag that I need to decode.
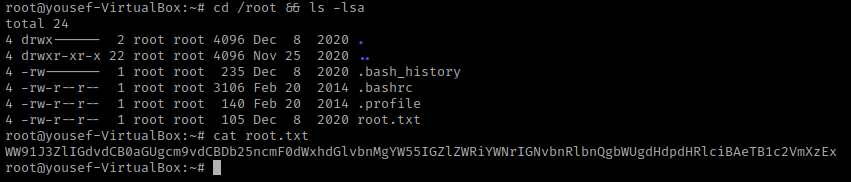
I pasted this in the BurpSuite Decoder (replacing the old flag) and it was decoded using Base64.

This box is now complete!


Leave a comment